https://julian5383.tistory.com/42?category=880390
[Spring] 웹 애플리케이션 제작
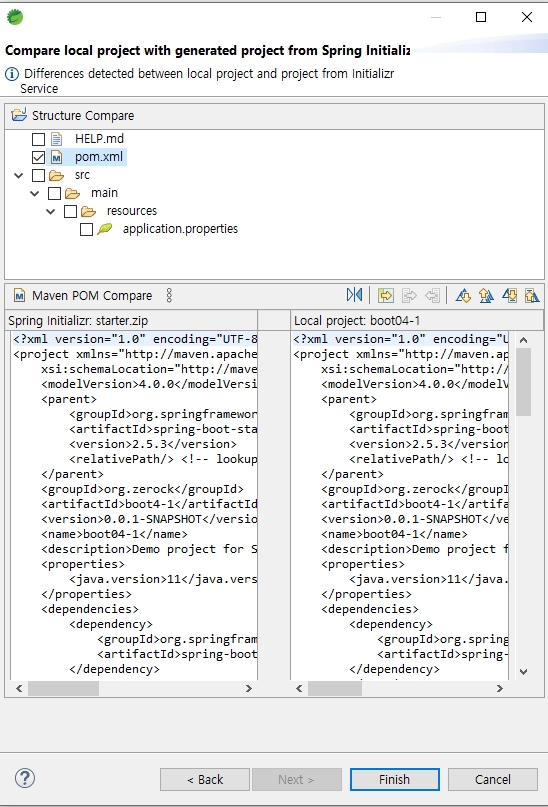
1. 프로젝트 구조 생성 - Spring Starter Project로 프로젝트 생성하고 라이브러리 생성 2. pom.xml에 라이브러리 추가 - Add를 눌러 라이브러리를 추가한다.(querydsl-apt, querydsl-jpa, thymeleaf-layout-dia..
julian5383.tistory.com
위 게시물에 이어서 진행됩니다.
1. 프로젝트 구성 추가

2. templates에 추가 html 파일 생성하기
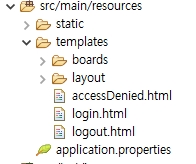
1) accessDenied.html
<!DOCTYPE html>
<html>
<head>
<meta charset="EUC-KR">
<title>AccessDenied</title>
</head>
<body>
<div class="panel panel-default">
<div class="panel-body">
<div class="alert alert-danger" role="alert">
<h2>Sorry, you do not have permission to view this page.</h2>
Click Login at <a th:href="@{/boards/login}">here</a>
</div>
</div>
</div>
</body>
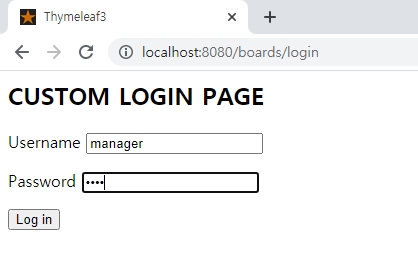
</html>2) login.html
<!DOCTYPE html>
<html xmlns:th="http://www.thymeleaf.org">

<head>
<title>Thymeleaf3</title>
<meta http-equiv="Content-Type" content="text/html; charset=UTF-8" />
</head>
<body>

	<h2>CUSTOM LOGIN PAGE</h2>

	<div th:if="${param.error != null}">
		<h2>Invalid Username or password</h2>
		<h2 th:value="${param.error}"></h2>
	</div>

	<div th:if="${param.logout !=null}">
		<h2>You have been logged out.</h2>
	</div>

	<form method="post">
		<p>
			<label for="username">Username</label> <input type="text"
			id="username" name="username"/>
		</p>
		<p>
			<label for="password">Password</label> <input type="password"
			id="password" name="password"/>
		</p>
		<input type="hidden" th:name="${_csrf.parameterName}"
		th:value="${_csrf.token}"/>
		<button type="submit" class="btn">Log in</button>
	</form>

</body>
</html>
3) logout.html
<!DOCTYPE html>
<html>
<head>
<meta charset="EUC-KR">
<title>Insert title here</title>
</head>
<body>
	<h2>CUSTOM LOGOUT PAGE</h2>
	<form method="post">
		<h3>Logout</h3>
		<input type="hidden" th:name="${_csrf.parameterName}"
		th:value="${_csrf.token}" />
		<button type="submit" class="btn">LogOut</button>
	</form>
</body>
</html>
3. 파싱오류 방지를 위한 기존 html 파일들 수정
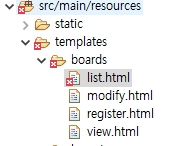
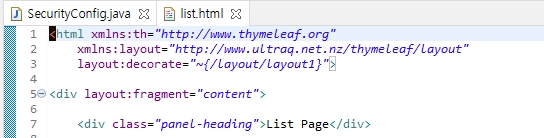
boards에 있는 html파일에서 '/layout/layout1'에서 'layout/layout1'으로 수정한다.
이는 list, modify, register, view에도 똑같이 적용된다.
4. WebBoardController.java에 구문 추가
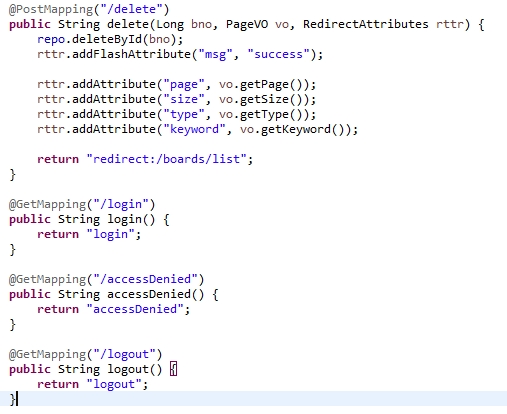
login, accessDenied, logout관련 구문을 추가한다.
	@GetMapping("/login")
	public String login() {
		return "login";
	}

	@GetMapping("/accessDenied")
	public String accessDenied() {
		return "accessDenied";
	}

	@GetMapping("/logout")
	public String logout() {
		return "logout";
	}
5. SecurityConfig.java 추가
(org.zerock.security.SecurityConfig.java)
package org.zerock.security;

import org.springframework.context.annotation.Bean;
import org.springframework.context.annotation.Configuration;
import org.springframework.security.config.annotation.authentication.builders.AuthenticationManagerBuilder;
import org.springframework.security.config.annotation.method.configuration.EnableGlobalMethodSecurity;
import org.springframework.security.config.annotation.web.builders.HttpSecurity;
import org.springframework.security.config.annotation.web.configuration.EnableWebSecurity;
import org.springframework.security.config.annotation.web.configuration.WebSecurityConfigurerAdapter;
import org.springframework.security.crypto.password.PasswordEncoder;

@EnableWebSecurity
@Configuration
@EnableGlobalMethodSecurity(securedEnabled = true)
public class SecurityConfig extends WebSecurityConfigurerAdapter{

	@Bean
	public PasswordEncoder passwordEncoder() {

		return new PasswordEncoder() {
			// 로그인시 아이디와 비밀번호가 맞는지를 검사해준다.
			@Override
			public boolean matches(CharSequence rawPassword, String encodedPassword) {
				// TODO Auto-generated method stub
				return rawPassword.equals(encodedPassword);
			}

			@Override
			public String encode(CharSequence rawPassword) {
				// TODO Auto-generated method stub
				return rawPassword.toString();
			}
		};
	}

	@Override
	protected void configure(AuthenticationManagerBuilder auth) throws Exception {
		// 아이디와 비밀번호 만들기
		auth.inMemoryAuthentication().withUser("manager").password("1111").roles("MANAGER")
		.and()
		.withUser("guest").password("2222").roles("BASIC")
		.and()
		.withUser("admin").password("3333").roles("ADMIN");
	}

	@Override
	protected void configure(HttpSecurity http) throws Exception {
		// hasAnyRole을 이용해서 특정 사이트에 들어갈 수 있는 유저들을 설정한다.
		http.authorizeRequests().antMatchers("/boards/list").hasAnyRole("MANAGER", "ADMIN", "BASIC")
			.and()
			.authorizeRequests().antMatchers("/boards/modify").hasAnyRole("MANAGER", "ADMIN")
			.and()
			.authorizeRequests().antMatchers("/boards/delete").hasAnyRole("MANAGER","ADMIN")
			.and()
			.csrf()
			.ignoringAntMatchers("/boards/delete")
			.ignoringAntMatchers("/boards/modify")
            //CSRF 방지 처리를 적용하는 경우와
            //안 하는 경우를 request url 차원에서 나눠서 처리할 수 있게 된다.
			.and()
			.formLogin().loginPage("/boards/login").defaultSuccessUrl("/boards/list").permitAll()
			.and()
			.exceptionHandling().accessDeniedPage("/boards/accessDenied")
			.and()
			.logout().logoutUrl("/boards/logout").invalidateHttpSession(true);
	}

}
6. 실행하기
http://localhost:8080/boards/list을 웹브라우저에 입력해서 접속하기

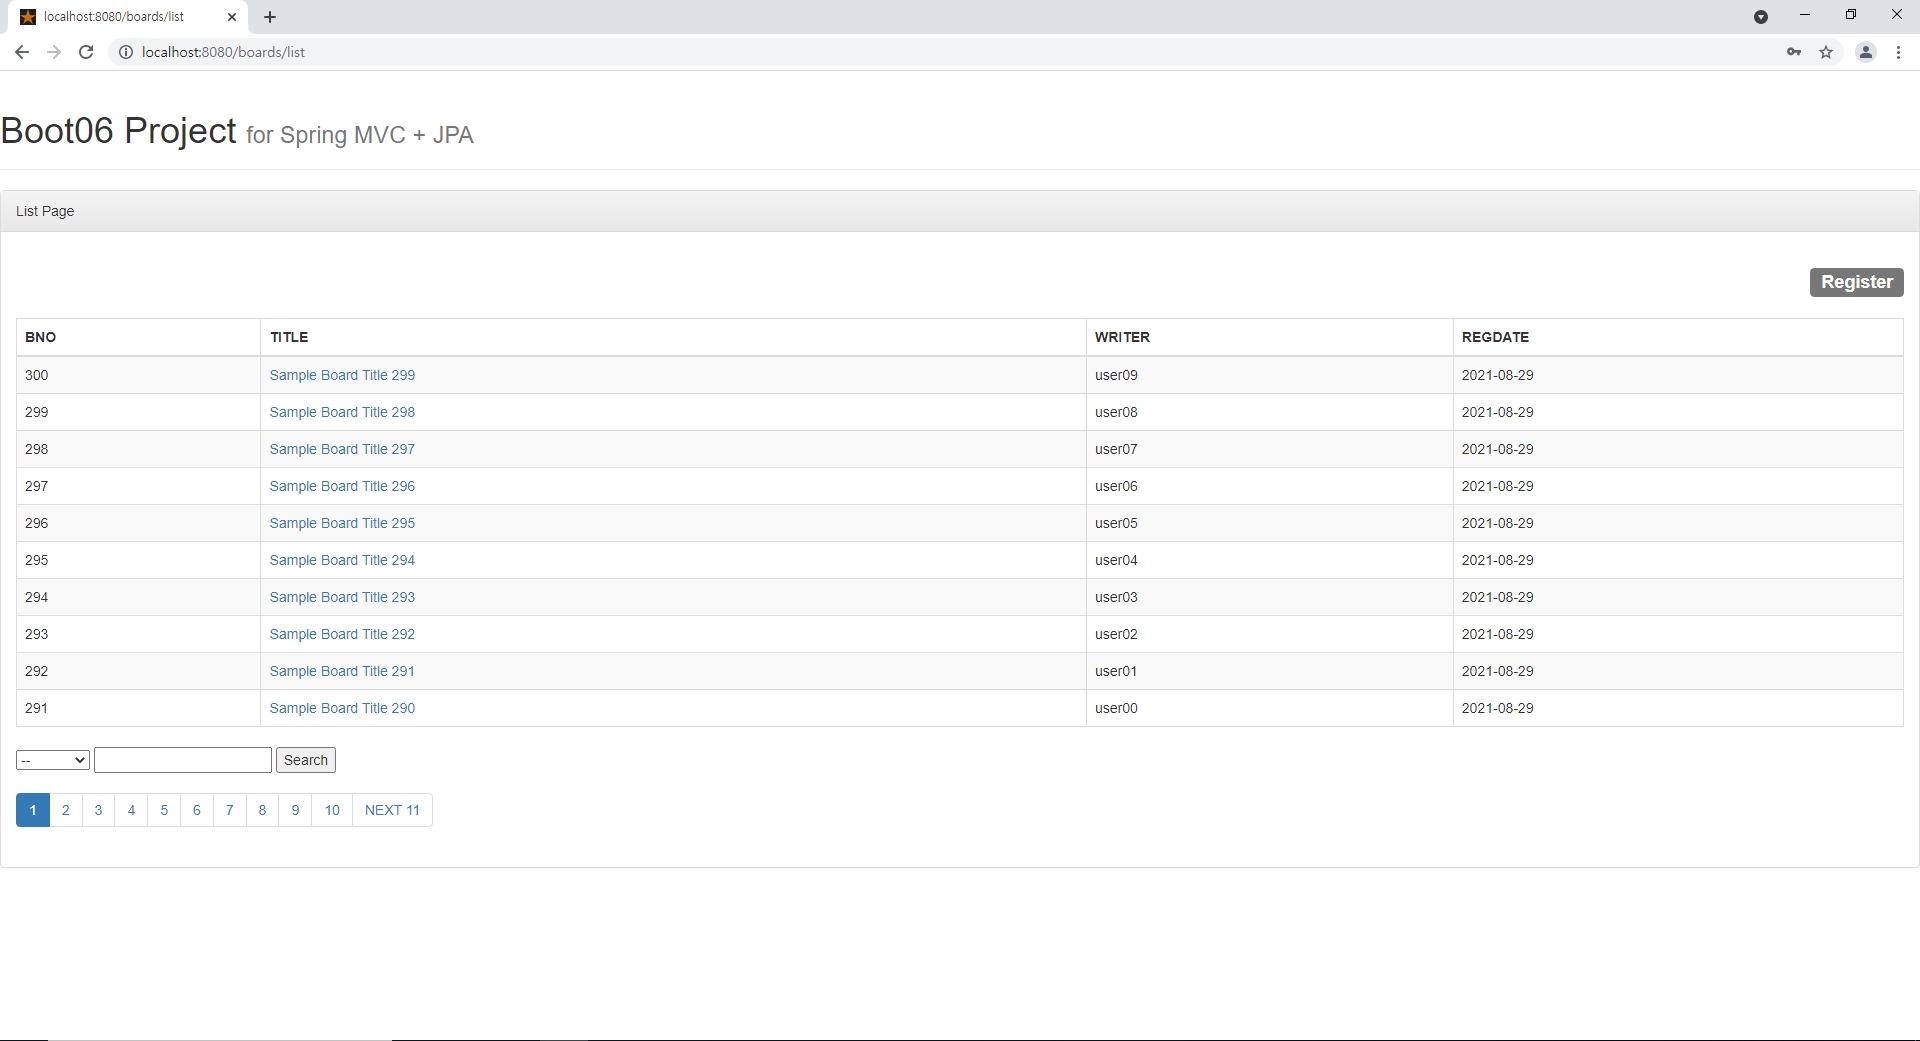
접속 성공!
7. 명령프롬프드(cmd)로 실행하기
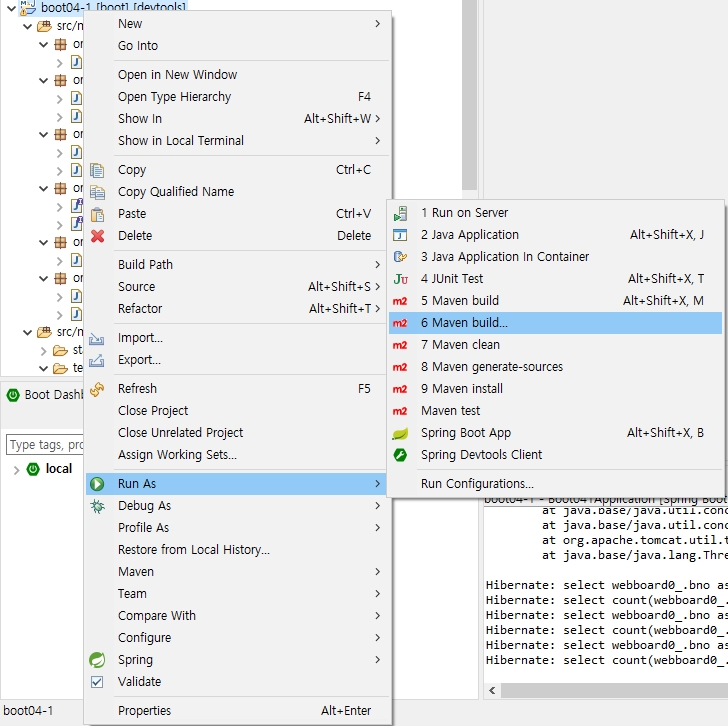
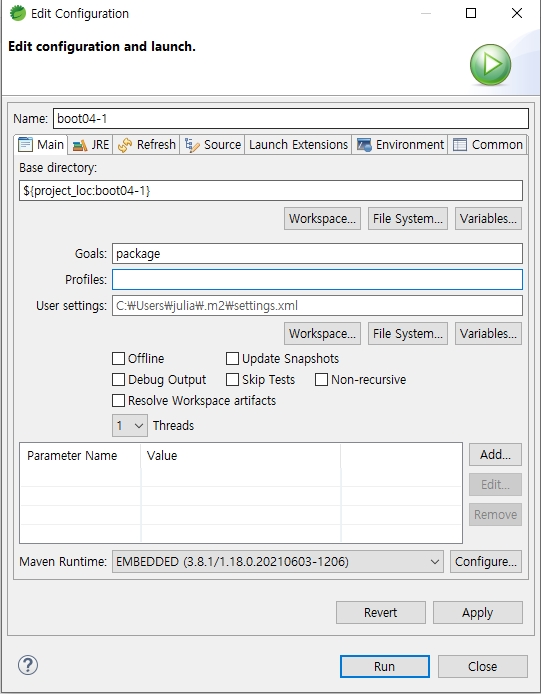
Goals는 pakcage, Profiles 내용은 지우고 Run버튼을 누릅니다.

그렇게 되면 Console창에 진행상황이 표시되고 Success문구가 뜨면 성공입니다.
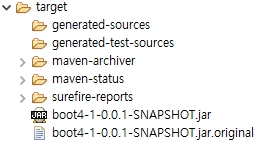
프로젝트를 Refresh해주면 해당 jar파일이 만들어집니다.

명령 프롬프트에 접속합니다.

해당 프로젝트 경로로 이동합니다.
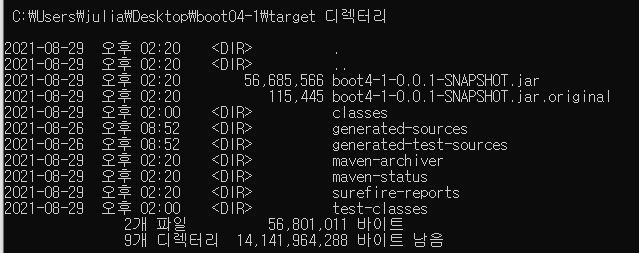

해당 경로로 이동 후
java -jar boot4-1-0.0.1-SNAPSHOT.jar을 입력하고 실행합니다.
실행 시 cmd는 이클립스처럼 실행될 것입니다.

http://localhost:8080/boards/list을 웹브라우저에 입력하고 접속 시 이클립스 상에서 실행할 때 처럼 실행될 것입니다.
'Spring_boot > Project' 카테고리의 다른 글
| [Spring] JPA로 블로그하고 데이터를 액세스 하기 (0) | 2022.08.07 |
|---|---|
| [Spring] MVC를 이용해 블로그 만들기 (0) | 2022.07.31 |
| [Spring] 자바 환경 변수 설정하기 (0) | 2021.08.26 |
| [Spring] 웹 보안 (0) | 2021.08.26 |
| [Spring] 스프링부트(Spring Tool suite) 설치 방법 (0) | 2021.08.22 |