[비트교육센터] 웹 28일차 Javascript, 마우스 핸들링, 윈도우와 브라우저 객체
1. 마우스 핸들링
1) onclick과 ondblclick
<!DOCTYPE html>
<html>
<head>
<meta charset="UTF-8">
<title>onclick</title>
<script>
function calculate() {
let exp = document.getElementById("exp");
let result = document.getElementById("result");
result.value = eval(exp.value);
}
</script>
</head>
<body>
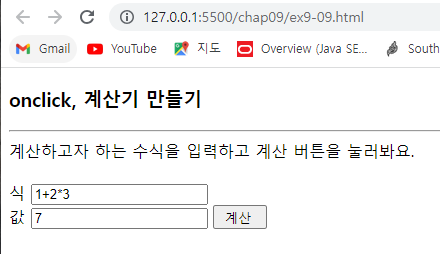
<h3> onclick, 계산기 만들기</h3>
<hr>
계산하고자 하는 수식을
입력하고 계산 버튼을 눌러봐요.
<br>
<br>
<form>
식 <input type="text" id="exp" value=""><br>
값 <input type="text" id="result">
<input type="button" value=" 계산 " onclick="calculate()">
</form>
</body>
</html>- onclick: 사용자가 HTML 태그를 클릭했을때, ondbclick은 더블클릭했을때 실행하는 이벤트 리스너이다.
- 해당 코드는 계산 버튼을 누르면 입력받은 수식을 계산해 출력하는 간단한 계산기 페이지이다.
--> 결과

2) 마우스와 관련된 이벤트 리스너
<!DOCTYPE html>
<html>

<head>
    <meta charset="UTF-8">
    <title>마우스 관련 리스너</title>
    <script>
        let width = 1; // 테두리 두께
        function down(obj) {
            obj.style.fontStyle = "italic";
        }
        function up(obj) {
            obj.style.fontStyle = "normal";
        }
        function over(obj) {
            obj.style.borderColor = "violet";
            // 테두리 폭이 0일 때 색은 보이지 않는다.
        }
        function out(obj) {
            obj.style.borderColor = "lightgray";
        }
        function wheel(e, obj) { // e는 이벤트 객체
            if (e.wheelDelta < 0) { // 휠을 아래로 굴릴 때
                width--; // 폭 1 감소
                if (width < 0) width = 0; // 폭이 0보다 작아지지 않게
            }
            else // 휠을 위로 굴릴 때
                width++; // 폭 1 증가
            obj.style.borderStyle = "ridge";
            obj.style.borderWidth = width + "px";
        }
    </script>
</head>

<body>
    <h3>마우스 관련 이벤트 리스너</h3>
    <hr>
    <div>마우스 관련
        <span onmousedown="down(this)" onmouseup="up(this)" onmouseover="over(this)" onmouseout="out(this)"
            onwheel="wheel(event, this)" style="display:inline-block">이벤트
        </span>가 발생합니다.
    </div>
</body>

</html>
- onmousedown: HTML 태그에 마우스 버튼을 누르는 순간
- onmouseup: 눌러진 마우스 버튼이 놓여지는 순간
- onmouseover: 마우스가 HTML 태그 위로 올라오는 순간. 자식 영역 포함
- onmouseout: 마우스가 HTML 태그를 벗어나는 순간. 자식 영역 포함
- onmouseenter: 마우스가 HTML 태그 위로 올라오는 순간. 이벤트 버블 단계 없음
- onmouseleave: 마우스가 HTML 태그를 벗어나는 순간. 이벤트 버블 단계 없음
- onwheel: HTML 태그에 마우스 휠이 구르는 동안 계속호출
--> 결과
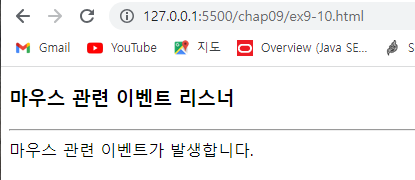
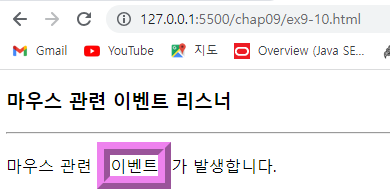
- 마우스휠을 위로 굴릴때 두께가 두꺼워짐(onwheel), 마우스를 올릴때 violet 색이 나타난다.(onmouseover)
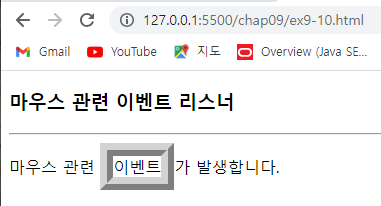
- 마우스를 내릴 때 회색으로 변한다.(onmouseout)
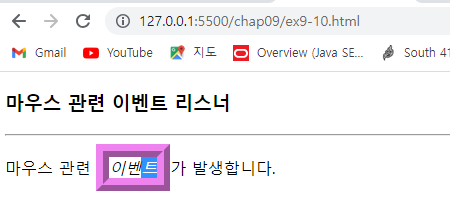
- 마우스로 눌렀을때 italic서체로 바뀐다.(onmousedown)
3) 마우스와 관련된 이벤트 리스너2
<!DOCTYPE html>
<html>
<head>
<meta charset="UTF-8">
<title>마우스 이벤트 객체의 프로퍼티</title>
<style>
div {
background: skyblue;
width: 250px;
}
</style>
</head>
<body>
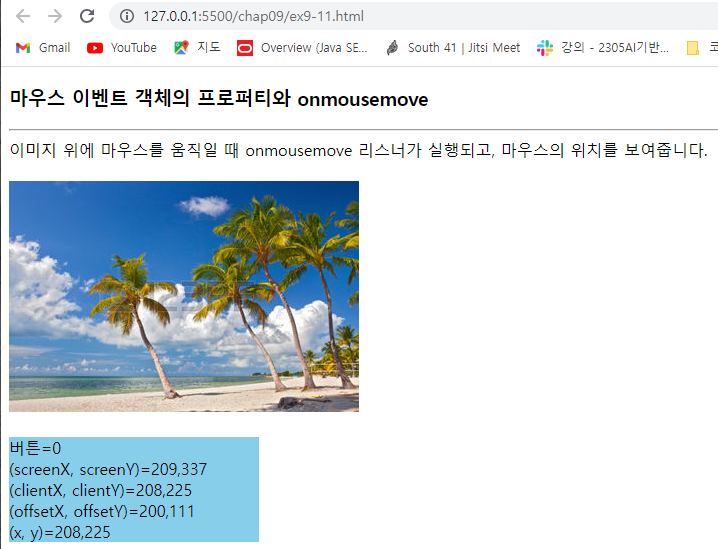
<h3>마우스 이벤트 객체의 프로퍼티와 onmousemove</h3>
<hr>
이미지 위에 마우스를 움직일 때 onmousemove 리스너가 실행되고,
마우스의 위치를 보여줍니다.<br><br>
<img src="media/beach.png" onmousemove="where(event)"><br><br>
<div id="div"></div>
<script>
let div = document.getElementById("div");
function where(e) {
let text = "버튼=" + e.button + "<br>";
text += "(screenX, screenY)=" + e.screenX + "," + e.screenY + "<br>";
text += "(clientX, clientY)=" + e.clientX + "," + e.clientY + "<br>";
text += "(offsetX, offsetY)=" + e.offsetX + "," + e.offsetY + "<br>";
text += "(x, y)=" + e.x + "," + e.y + "\n";
div.innerHTML = text;
}
</script>
</body>
</html>- onmousemove리스너는 마우스가 움직이는 동안 계속 호출된다.
- 위의 코드는 <img>태그의 이미지 위에서 마우스를 움직이면 onmousemove리스너에서 마우스 포인터의 좌표를 <div>태그에 출력한다.
4) 마우스와 관련된 이벤트 리스너3
- oncontextmenu
1) 컨텍스트 메뉴(context menu)는 html 태그 위에 마우스 오른쪽 버튼을 클릭시 출력되는 메뉴이다.
2) 컨텍스트 메뉴가 출력되기 전 oncontextmenu 리스너가 먼저 호출된다.
3) 이 리스너가 false를 리턴시 컨텍스트 메뉴가 출력되는 디폴트 행동을 취소해 소스 보기나 이미지 다운로드를 할 수 없게 된다.
<!DOCTYPE html>
<html>
<head>
<meta charset="UTF-8">
<title>oncontextmenu</title>
<script>
function hideMenu() {
alert("오른쪽 클릭<컨텍스트 메뉴>금지");
return false;
}
document.oncontextmenu = hideMenu;
</script>
</head>
<body>
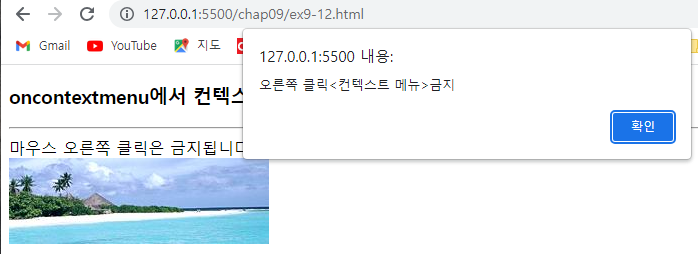
<h3>oncontextmenu에서 컨텍스트 메뉴 금지</h3>
<hr>
마우스 오른쪽 클릭은 금지됩니다. 아무곳이나
클릭해도 컨텍스트 메뉴를 볼 수 없습니다.<br>
<img src="media/beach2.png" alt="miami">
</body>
</html>- document 객체의 oncontextmenu리스너에 hidemenu() 함수를 등록해 브라우저의 아무 위치에 마우스 오른쪽 버튼을 클릭해도 hidemenu()가 실행되게 한다. hidemenu()함수는 경고창을 출력하고 false를 리턴해 컨텍스트 메뉴가 출력되지 않도록 한다.
--> 결과
5) 라디오 버튼
<!DOCTYPE html>
<html>
<head>
<meta charset="UTF-8">
<title>선택된 라디오버튼 알아내기</title>
<script>
function findChecked() {
let found = null;
// let kcity = document.getElementsByName("city");
// for (let i = 0; i < kcity.length; i++) {
// if (kcity[i].checked == true)
// found = kcity[i];
// }
let kcity = document.querySelectorAll('[name="city"]');
for (let city of kcity) {
if (city.checked == true) {
found=city
}
}
if (found != null)
alert(found.value + "이 선택되었음");
else
alert("선택된 것이 없음");
}
</script>
</head>
<body>
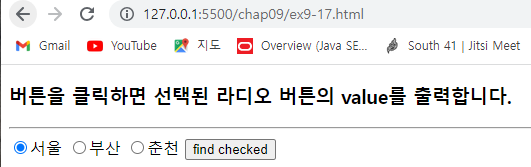
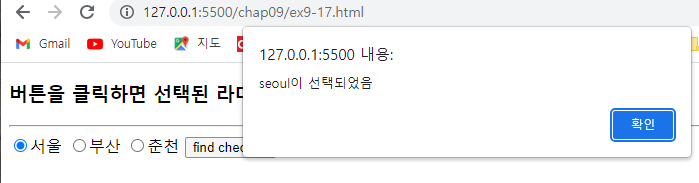
<h3>버튼을 클릭하면 선택된 라디오 버튼의 value를 출력합니다.</h3>
<hr>
<form>
<input type="radio" name="city" value="seoul" checked>서울
<input type="radio" name="city" value="busan">부산
<input type="radio" name="city" value="chunchen">춘천
<input type="button" value="find checked" onclick="findChecked()">
</form>
</body>
</html>- 태그의 name 속성이 동일한 radio 객체들이 하나의 그룹을 이루기 때문에 name 속성 값으로 radio 객체를 찾는 것이다.
--> 결과
6) 체크박스
<!DOCTYPE html>
<html>
<head>
<meta charset="UTF-8">
<title>선택된 물품 계산하기</title>
<script>
let sum = 0;
function calc(cBox) {
if (cBox.checked)
sum += parseInt(cBox.value);
else
sum -= parseInt(cBox.value);
document.getElementById("sumtext").value = sum;
}
</script>
</head>
<body>
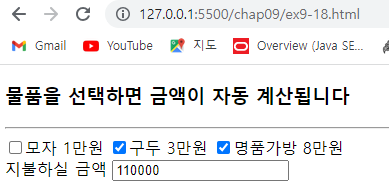
<h3>물품을 선택하면 금액이 자동 계산됩니다</h3>
<hr>
<form>
<input type="checkbox" name="hap" value="10000" onclick="calc(this)">모자 1만원
<input type="checkbox" name="shose" value="30000" onclick="calc(this)">구두 3만원
<input type="checkbox" name="bag" value="80000" onclick="calc(this)">명품가방 8만원<br>
지불하실 금액 <input type="text" id="sumtext" value="0">
</form>
</body>
</html>- checkbox 객체들은 radio객체들과 달리 그룹을 형성하지 않기 때문에 name 속성(프로퍼티)이 모두 다르다.
- 위의 코드는 구입 물품을 나타내는 3개의 체크박스를 두고, 체크박스를 선택시 바로 물품 전체 가격을 계산하는 사례를 보여준다.
--> 결과
7) Select 객체와 onchange
- select 객체는 <select>태그에 의해 만들어진 콤보박스를 나타내며, option 개체는 <option>태그로 표현되는 옵션 아이템을 나타낸다.
- selectedIndex: 선택된 옵션은 select 객체의 selectedIndex로 알아낼 수 있다.
- onchange 리스너: select객체에 다른 옵션이 선택되면 select 객체의 onchange 리스너가 호출된다.
<!DOCTYPE html>
<html>
<head>
<meta charset="UTF-8">
<title>select 객체에서 선택한 과일출력</title>
<script>
function drawImage() {
let sel = document.getElementById("fruits");
let img = document.getElementById("fruitimage");
console.log(sel.selectedIndex);
img.src = sel.options[sel.selectedIndex].value;
}
</script>
</head>
<body onload="drawImage()">
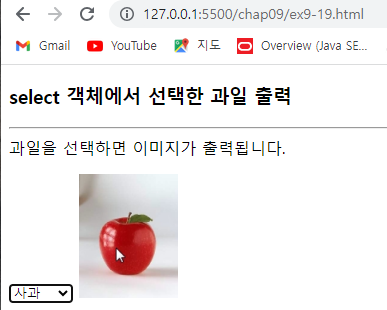
<h3>select 객체에서 선택한 과일 출력</h3>
<hr>
과일을 선택하면 이미지가 출력됩니다.<p>
<form>
<select id="fruits" onchange="drawImage()">
<option value="media/strawberry.png">딸기
<option value="media/banana.png" selected>바나나
<option value="media/apple.png">사과
</select>
<img id="fruitimage" src="media/banana.gif" alt="">
</form>
</body>
</html>- onchange리스너를 이용해 <select>태그에서 옵션을 선택할 때마다 해당 이미지를 출력하게 한다.
- <body> 태그에 onload="drawImage()"를 작성하는 이유는 웹 페이지가 로드된 직후 처음부터 <select>태그에 작성된 <option> 중 선택상태(selected) 인 것을 찾아 그 이미지를 출력하기 위함이다.
--> 결과

8) 상하좌우 키로 셀 이동
<!DOCTYPE html>
<html>
<head>
<meta charset="utf-8">
<title>키 이벤트 응용</title>
<style>
td {
width: 50px;
height: 50px;
border: 1px solid orchid;
}
</style>
<script>
let tds;
let prevIndex = 0, index = 0;
window.onload = function () { // 웹 페이지의 로딩 완료시 실행
tds = document.getElementsByTagName("td");
tds[index].style.backgroundColor = "orchid";
}
window.onkeydown = function (e) {
switch (e.key) {
case "ArrowDown":
if (index / 3 >= 2) return; // 맨 위 셀의 경우
index += 3;
break;
case "ArrowUp":
if (index / 3 < 1) return; // 맨 아래 셀의 경우
index -= 3;
break;
case "ArrowLeft":
if (index % 3 == 0) return; // 맨 왼쪽 셀의 경우
index--;
break;
case "ArrowRight":
if (index % 3 == 2) return; // 맨 오른쪽 셀의 경우
index++;
break;
}
tds[index].style.backgroundColor = "orchid";
tds[prevIndex].style.backgroundColor = "white";
prevIndex = index;
}
</script>
</head>
<body>
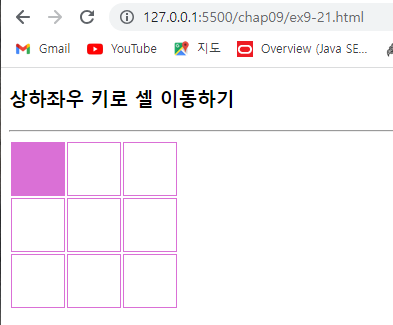
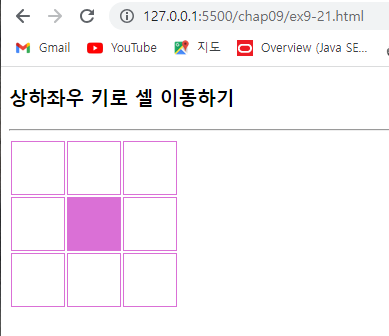
<h3>상하좌우 키로 셀 이동하기</h3>
<hr>
<table>
<tr>
<td></td>
<td></td>
<td></td>
</tr>
<tr>
<td></td>
<td></td>
<td></td>
</tr>
<tr>
<td></td>
<td></td>
<td></td>
</tr>
</table>
</body>
</html>- 3*3 표를 만들고 상하좌우 키를 이용해 셀의 배경색을 바꾸면서 표의 셀 사이를 이동하는 코드문이다.
--> 결과
2. 윈도우와 브라우저 객체
1) setInterval()로 텍스트 회전
- setInterval(): 타임아웃 시간 주기로 타임아웃 코드를 무한 반복 실행하도록 타이머를 설정한다.
- clearInterval(): setInterval()에 의해 설정된 타이머를 해제시킨다.
<!DOCTYPE html>
<html>
<head>
<meta charset="UTF-8">
<title>setInterval()로 텍스트 회전</title>
</head>
<body>
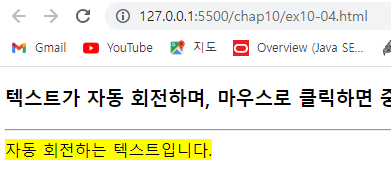
<h3>텍스트가 자동 회전하며, 마우스로 클릭하면 중단합니다.</h3>
<hr>
<div><span id="span" style="background-color:yellow">
자동 회전하는 텍스트입니다.</span>
</div>
<script>
let span = document.getElementById("span");
let timerID = setInterval("doRotate()", 200); // 200밀리초 주기로 doRotate() 호출
span.onclick = function (e) { // 마우스 클릭 이벤트 리스너
clearInterval(timerID); // 타이머 해제. 문자열 회전 중단
}
function doRotate() {
let str = span.innerHTML;
let firstChar = str.substr(0, 1);
let remains = str.substr(1, str.length - 1);
str = remains + firstChar;
span.innerHTML = str; // str 텍스트를 span 객체에 출력
}
</script>
</body>
</html>- setInterval()을 이용해 텍스트를 옆으로 반복회전하는 코드이다.
- 마우스를 클릭하면 회전이 중단된다.
--> 결과
2) 웹 페이지 프린트
<!DOCTYPE html>
<html>
<head>
<meta charset="UTF-8">
<title>웹 페이지 프린트</title>
</head>
<body>
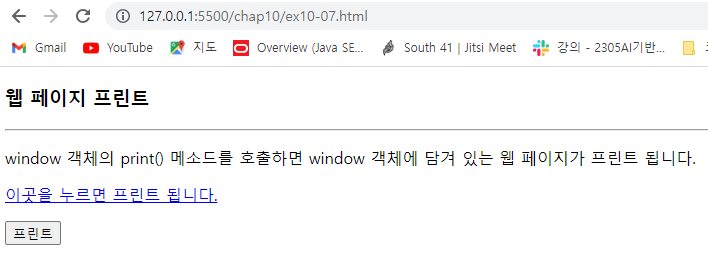
<h3>웹 페이지 프린트</h3>
<hr>
<p>window 객체의 print() 메소드를 호출하면
window 객체에 담겨 있는 웹 페이지가 프린트 됩니다.
<p>
<a href="javascript:window.print()">이곳을 누르면 프린트 됩니다.</a>
<p>
<input type="button" value="프린트" onclick="window.print()">
</body>
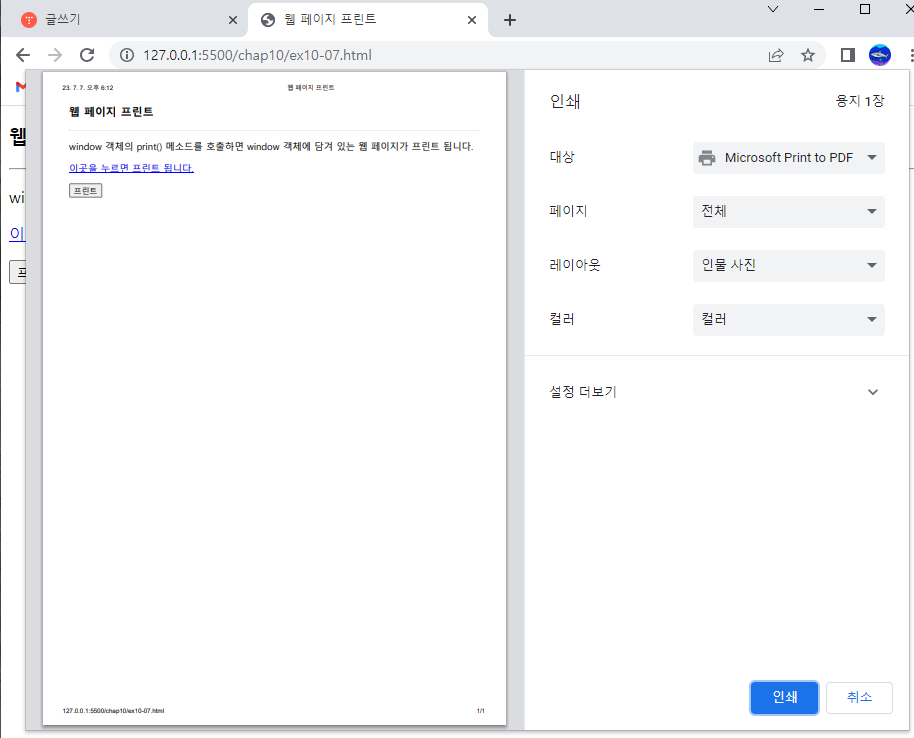
</html>- window.print(); 또는 print(); 코드는 현재 윈도우에 로드된 웹 페이지를 프린트한다.
--> 결과
3) onbeforeprint()와 onafterprint()
<!DOCTYPE html>
<html>
<head>
<meta charset="UTF-8">
<title>onbeforeprint와 onafterprint</title>
<style>
#logoDiv {
display: none;
position: absolute;
left: 0;
top: 0;
width: 100%;
height: 100%;
z-index: -1;
/* 로고 이미지를 문서의 밑바닥에 배치 */
}
</style>
<script>
window.onbeforeprint = function (e) {
let logoDiv = document.getElementById("logoDiv");
logoDiv.style.display = "block"; // block으로 변경. 로고가 화면에 나타나게 함
}
window.onafterprint = hideLogo;
function hideLogo() {
let logoDiv = document.getElementById("logoDiv");
logoDiv.style.display = "none"; // 로고를 보이지 않게 함
}
</script>
</head>
<body>
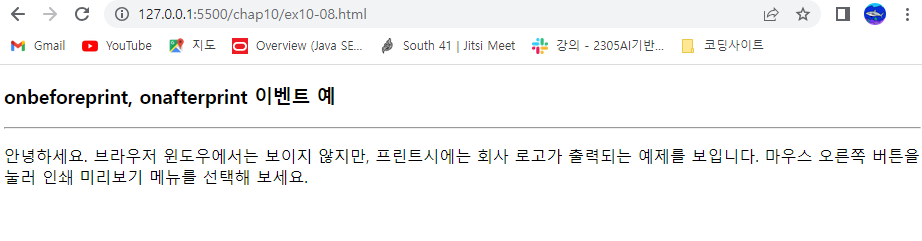
<h3>onbeforeprint, onafterprint 이벤트 예</h3>
<hr>
<div id="logoDiv">
<img src="media/logo.png" alt="이미지 없습니다.">
</div>
<p>안녕하세요. 브라우저 윈도우에서는 보이지 않지만, 프린트시에는 회사 로고가 출력되는 예제를
보입니다. 마우스 오른쪽 버튼을 눌러 인쇄 미리보기 메뉴를 선택해 보세요.</p>
</body>
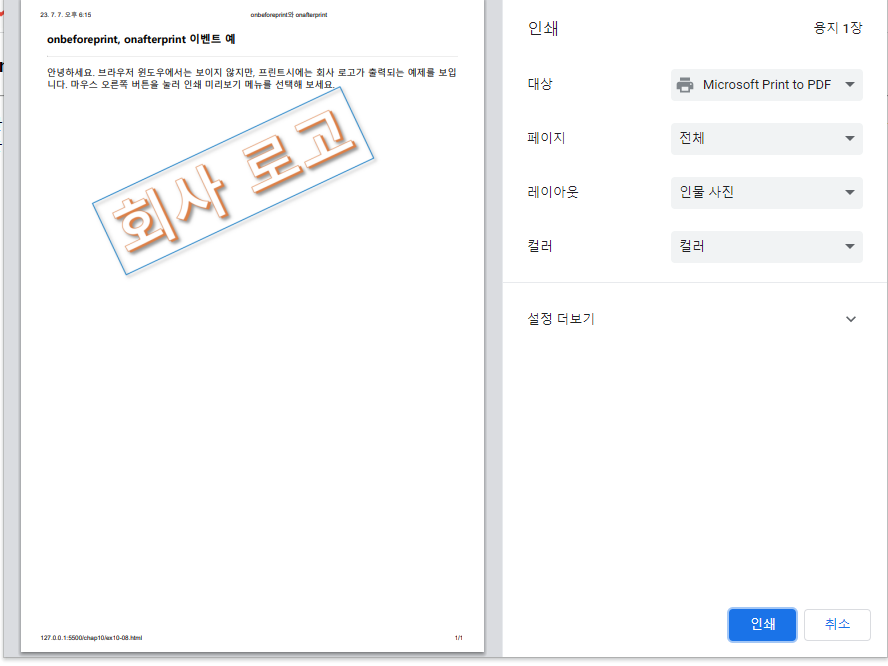
</html>- onbeforeprint리스너에서 회사 로고 이미지가 프린트 되게하고, 프린트가 끝나면 onafterprint 리스너에서 다시 이미지를 숨긴다.
--> 결과