[비트교육센터][Spring] 스프링 34일차 스프링부트(2)
1. 스프링부트(Spring Boot)
https://julian5383.tistory.com/215
[비트교육센터][Spring] 스프링 33일차 RestAPI, 스프링부트
1. RestAPI(2) 1. @RestController [1] RestSvcController.java package com.julian5383.controller; import java.util.HashMap; import java.util.List; import java.util.Map; import org.springframework.beans.factory.annotation.Autowired; import org.springframework.
julian5383.tistory.com
- 해당 게시물 스프링부트 list.html 이후부터 이어진다.
1. html 띄우기
[1] write.html
<!DOCTYPE html>
<html lang="ko" xmlns:th="http://www.thymeleaf.org">
<head>
<meta charset="UTF-8">
<title>글 쓰기</title>
<script th:inline="javascript">
function backToList(frm){//thymeleaf에서 url 또는 변수를 주는 법
frm.action=/*[[@{/board/list}]]*/
frm.submit();
}
</script>
<style>
.class-caption {
width:100px;
}
.class-content {
width:500px;
}
</style>
</head>
<body>
<h1 style="text-align: center;">글 쓰기</h1>
<form name="articleForm" method="post" th:action="@{/board/addArticle}">
<table border="0" align="center">
<tbody>
<tr>
<td align="right" class="class-caption">글제목: </td>
<td colspan="2">
<input type="text" maxlength="100" name="i_title" class="class-content">
</td>
</tr>
<tr>
<td align="right" valign="top" class="class-caption">글내용: </td>
<td colspan="2">
<textarea name="i_content" rows="10" maxlength="2000" class="class-content"></textarea>
</td>
</tr>
<tr>
<td align="right"></td>
<td colspan="2">
<input type="submit" value="저장">
<input type="button" value="목록보기" onclick="backToList(articleForm)">
</td>
</tr>
</tbody>
</table>
</form>
</body>
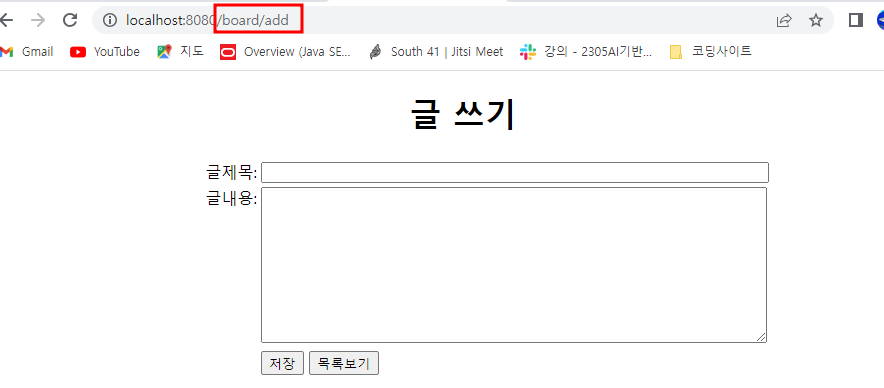
</html>- 글 작성 html이다.
[2] view.html
<!DOCTYPE html>
<html>
<head>
<meta charset="UTF-8">
<title>상세 조회</title>
<script th:inline="javascript">
function backToList(frm){
frm.action=/*[[@{/board/list}]]*/
//contextPath = board
frm.submit();
}
function fn_enable(frm){
document.querySelector('#i_title').disabled=false;
document.querySelector('#i_content').disabled=false;
document.querySelector('#tr_btn').style.display='none';
document.querySelector('#tr_btn_modify').style.display='table-row';
}
function fn_modify_article(frm){
frm.action=/*[[@{/board/edit}]]*/
frm.submit();
}
function fn_remove(url, no){
let form = document.createElement("form");
form.setAttribute("method","post");
form.setAttribute("action",url);
let input = document.createElement("input");
input.setAttribute("type","hidden");
input.setAttribute("name","articleNo");
input.setAttribute("value",no);
form.appendChild(input);
document.body.appendChild(form);
form.submit();
}
</script>
<style>
#tr_btn_modify{
display:none;
}
</style>
</head>
<body>
<form name="articleForm" method="post" action="">
<table border="0" align="center">
<tbody>
<tr>
<td width="150" align="center" bgcolor="#FF9933">글번호</td>
<td>
<input type="text" th:value="${article.article_no}" disabled>
<input type="hidden" th:value="${article.article_no}" name="articleNo">
</td>
</tr>
<tr>
<td width="150" align="center" bgcolor="#FF9933">작성자</td>
<td>
<input type="text" th:value="${article.write_id}" name="writer" disabled>
</td>
</tr>
<tr>
<td width="150" align="center" bgcolor="#FF9933">제목</td>
<td>
<input type="text" th:value="${article.title}" name="title" id="i_title" disabled>
</td>
</tr>
<tr>
<td width="150" align="center" bgcolor="#FF9933">내용</td>
<td>
<textarea rows="20" cols="60" name="content" id="i_content" disabled>
[[${article.content}]]
</textarea>
</td>
</tr>
<tr>
<td width="20%" align="center" bgcolor="#FF9933">작성일</td>
<td>
<input type="text" th:value="${article.write_date}" disabled>
</td>
</tr>
<tr id="tr_btn">
<td colspan="2" align="center">
<input type="button" value="수정" onclick="fn_enable(articleForm)">
<input type="button" value="삭제"
th:onclick="|fn_remove('@{/board/remove}','${article.article_no}')|">
<input type="button" value="목록보기" onclick="backToList(articleForm)">
</td>
</tr>
<tr id="tr_btn_modify">
<td colspan="2" align="center">
<input type="button" value="저장" onclick="fn_modify_article(articleForm)">
<input type="button" value="취소" onclick="backToList(articleForm)">
</td>
</tr>
<!--inner html은 대괄호 2개를 써야함 -->
</tbody>
</table>
</form>
</body>
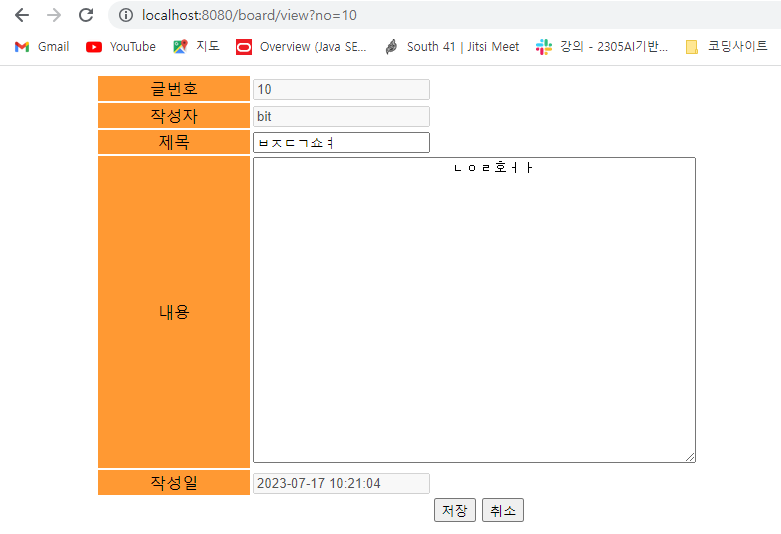
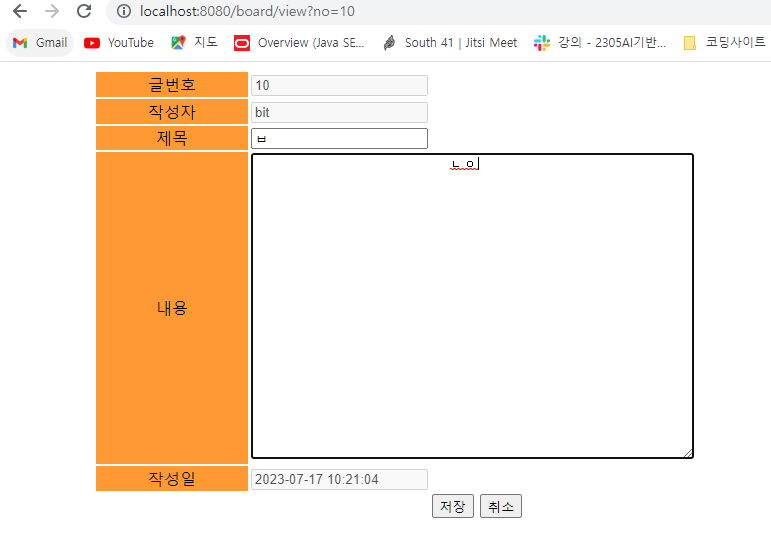
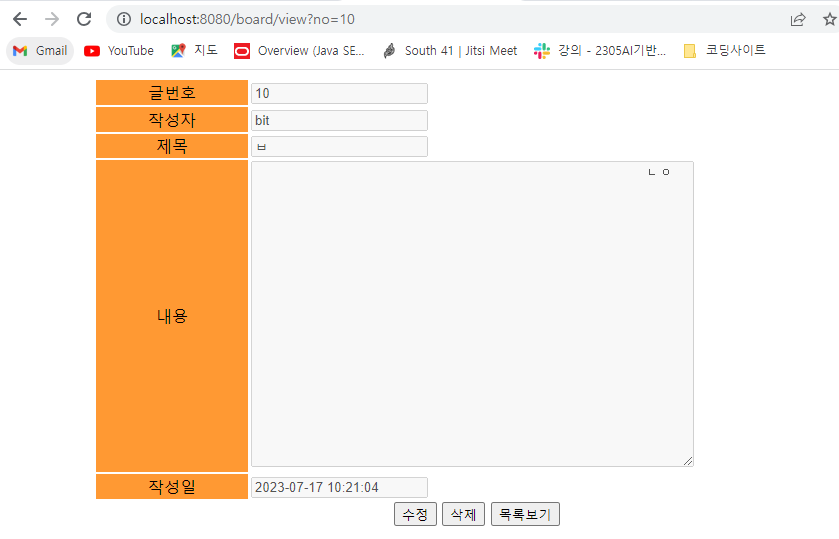
</html>- 게시물 상세페이지 이다.
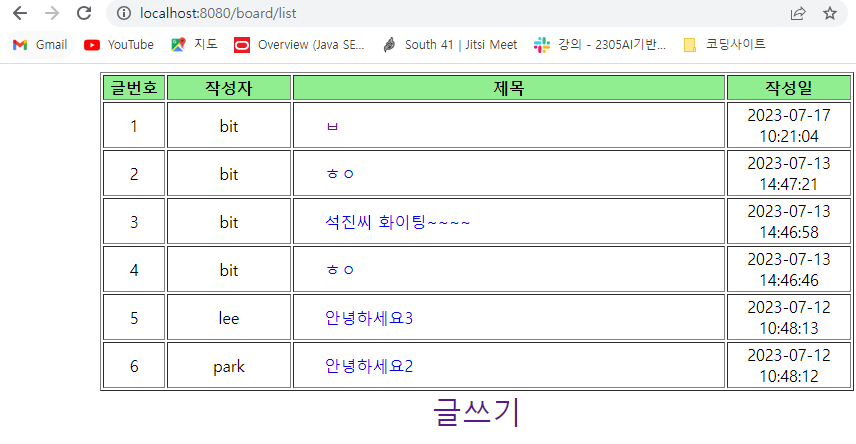
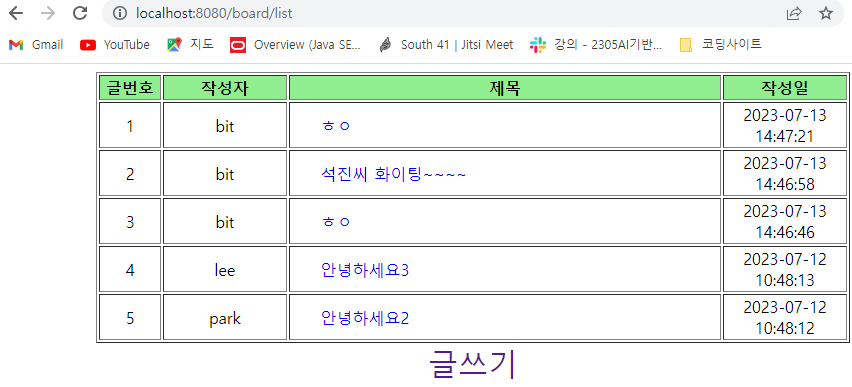
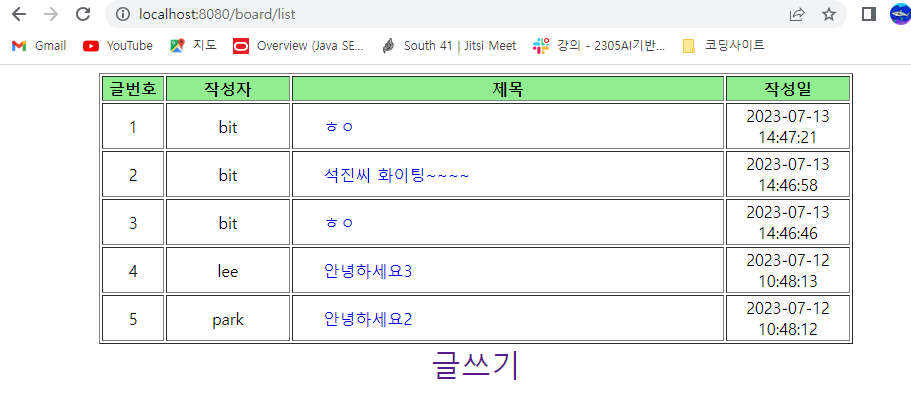
--> 결과
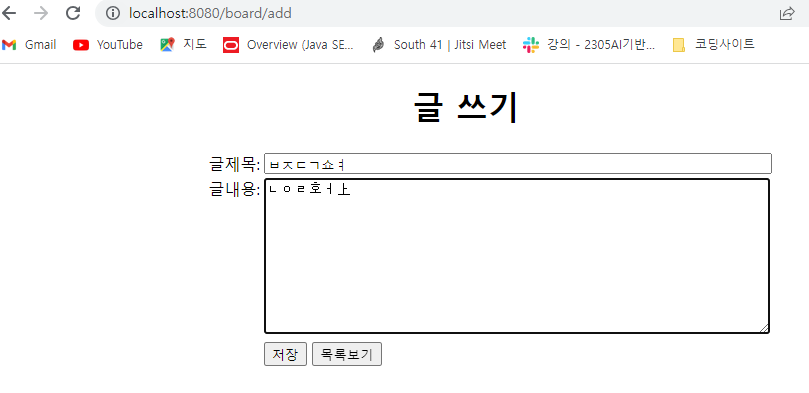
1) 게시글 추가
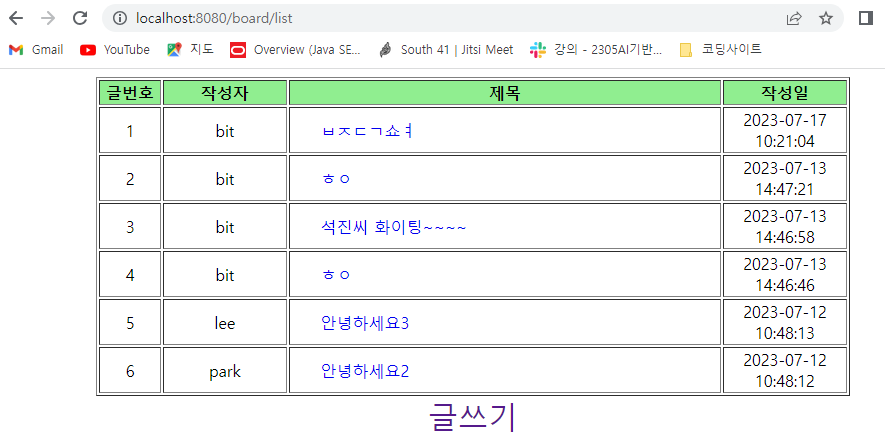
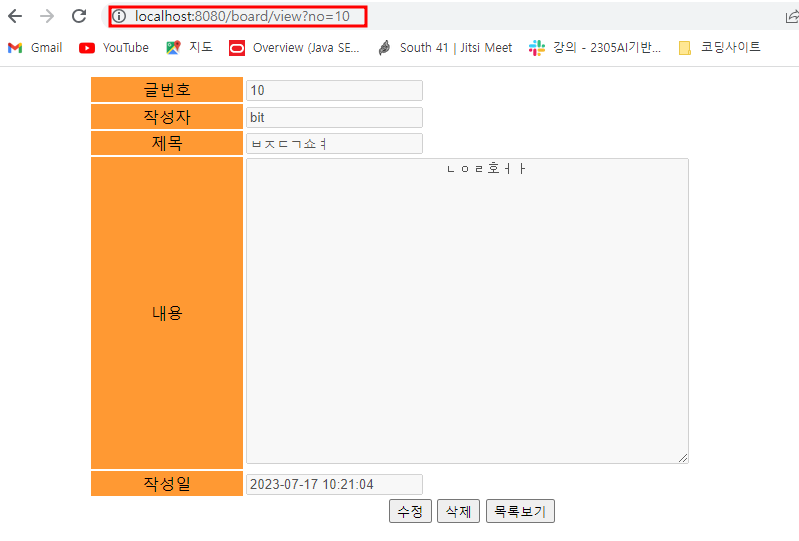
2) 게시글 조회
3) 게시글 수정

4) 게시글 삭제
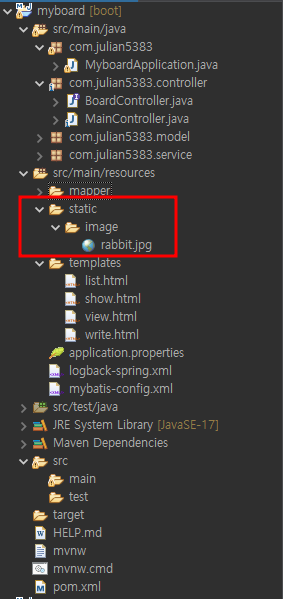
2. 사진 띄우기
[1] BoardController.java
package com.julian5383.controller;

import org.springframework.ui.Model;
import org.springframework.web.bind.annotation.RequestParam;
import org.springframework.web.servlet.ModelAndView;
import org.springframework.web.servlet.mvc.support.RedirectAttributes;

public interface BoardController {
	public String getArticleList(Model model) throws Exception;

	public String writeArticle() throws Exception;

	public String addArticle(@RequestParam(value="i_title")String title,
			@RequestParam(value="i_content")String content) throws Exception;

	public ModelAndView viewArticle(@RequestParam(value="no")String articleNo) throws Exception;

	public String editArticle(@RequestParam(value="articleNo") String articleNo,
			@RequestParam(value="title") String title,
			@RequestParam(value="content") String content, RedirectAttributes redirectAttr) throws Exception;

	public String removeArticle(@RequestParam(value="articleNo") String articleNo) throws Exception;

	//사진 띄우기 메소드
	public String viewImage() throws Exception;
}
- 맨 아래에 viewImage라는 추상메소드를 선언한다.
[2] MainController.java
package com.julian5383.controller;
import java.util.List;
import org.slf4j.Logger;
import org.slf4j.LoggerFactory;
import org.springframework.beans.factory.annotation.Autowired;
import org.springframework.stereotype.Controller;
import org.springframework.ui.Model;
import org.springframework.web.bind.annotation.GetMapping;
import org.springframework.web.bind.annotation.PostMapping;
import org.springframework.web.bind.annotation.RequestMapping;
import org.springframework.web.servlet.ModelAndView;
import org.springframework.web.servlet.mvc.support.RedirectAttributes;
import com.julian5383.model.OnboardDto;
import com.julian5383.service.BoardService;
@Controller("boardController")
@RequestMapping("/board")
public class MainController implements BoardController{
@Autowired
BoardService boardService;
@Autowired
OnboardDto onboardDto;
List<OnboardDto> articleList;
Logger logger = LoggerFactory.getLogger("com.julian5383.controller.MainController");
@Override
@RequestMapping({"/list", "/"})
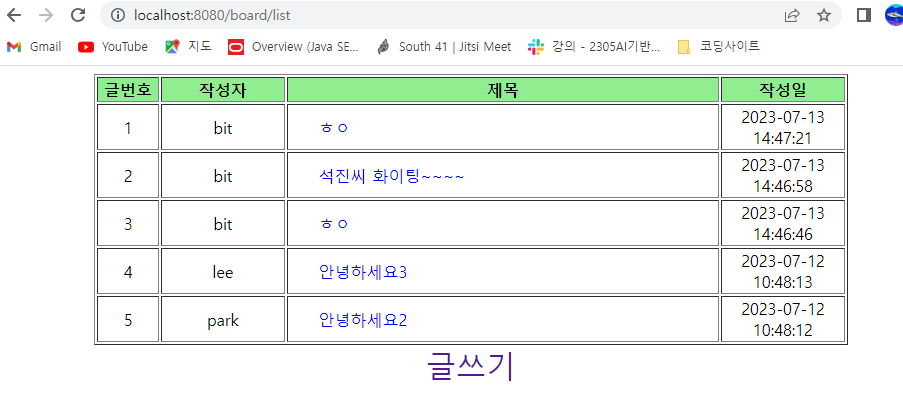
public String getArticleList(Model model) throws Exception {
// TODO Auto-generated method stub
articleList = boardService.listArticles();
model.addAttribute("data_list",articleList);
return "list";
}
@Override
@RequestMapping("/add")
public String writeArticle() throws Exception {
// TODO Auto-generated method stub
return "write";
}
@Override
@PostMapping("/addArticle")
public String addArticle(String title, String content) throws Exception {
// TODO Auto-generated method stub
onboardDto.setTitle(title);
onboardDto.setContent(content);
onboardDto.setWrite_id("bit");
boardService.addArticle(onboardDto);
return "redirect:list";
}
@Override
@GetMapping("/view")
public ModelAndView viewArticle(String articleNo) throws Exception {
// TODO Auto-generated method stub
onboardDto = boardService.viewArticle(Integer.parseInt(articleNo));
ModelAndView mv = new ModelAndView();
mv.setViewName("view");
mv.addObject("article", onboardDto);
logger.trace("trace==>articleNo: "+articleNo);
logger.debug("debug==>articleNo: "+articleNo);
logger.info("info==>articleNo: "+articleNo);
logger.warn("warn==>articleNo: "+articleNo);
logger.error("error==>articleNo: "+articleNo);
return mv;
}
@Override
@PostMapping("/edit")
public String editArticle(String articleNo, String title, String content, RedirectAttributes redirectAttr)
throws Exception {
// TODO Auto-generated method stub
onboardDto.setArticle_no(Integer.parseInt(articleNo));
onboardDto.setTitle(title);
onboardDto.setContent(content);
boardService.editArticle(onboardDto);
redirectAttr.addAttribute("no", articleNo);
return "redirect:view";
}
@Override
@PostMapping("/remove")
public String removeArticle(String articleNo) throws Exception {
// TODO Auto-generated method stub
boardService.removeArticle(Integer.parseInt(articleNo));
return "redirect:list";
}
//인터페이스에 html에서 끌어와야할 name태그르 딸 기록,메소드 처리 내용만 기록, 브라우저 상에 name태그를 따로 쓸 필요 없음.
//사진 띄우기 메소드
@Override
@GetMapping("/show")
public String viewImage() throws Exception {
// TODO Auto-generated method stub
return "show";
}
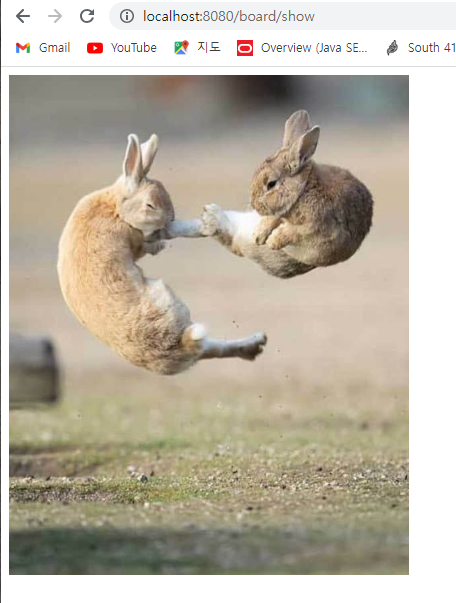
}- 아래세 viewImage라는 메소드를 선언한다. 주소에 show를 입력시 이동할 수 있다.
[3] show.html
<!DOCTYPE html>
<html lang="ko" xmlns:th="http://www.thymeleaf.org">
<head>
    <meta charset="UTF-8">
    <meta name="viewport" content="width=device-width, initial-scale=1.0">
    <title>show image</title>
</head>
<body>
    <img th:src="@{/image/rabbit.jpg}" width="400" height="500">
</body>
</html>
<!--static 밑에 위치-->
- img 태그에 resources 경로에 있는 image 폴더의 rabbit.jpg 사진을 가져오도록한다.
--> 결과
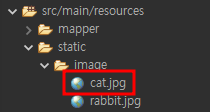
3. 이미지 바꾸기
[1] BoardController.java
package com.julian5383.controller;

import java.util.Map;

import org.springframework.ui.Model;
import org.springframework.web.bind.annotation.RequestParam;
import org.springframework.web.servlet.ModelAndView;
import org.springframework.web.servlet.mvc.support.RedirectAttributes;

public interface BoardController {
	public String getArticleList(Model model) throws Exception;

	public String writeArticle() throws Exception;

	public String addArticle(@RequestParam(value="i_title")String title,
			@RequestParam(value="i_content")String content) throws Exception;

	public ModelAndView viewArticle(@RequestParam(value="no")String articleNo) throws Exception;

	public String editArticle(@RequestParam(value="articleNo") String articleNo,
			@RequestParam(value="title") String title,
			@RequestParam(value="content") String content, RedirectAttributes redirectAttr) throws Exception;

	public String removeArticle(@RequestParam(value="articleNo") String articleNo) throws Exception;

	//사진 띄우기 메소드
	public String viewImage() throws Exception;

	//사진 바꾸기 메소드
	public Map<String, String> changeImage() throws Exception;
}
- Map으로 changeImage 메소드를 선언한다.
[2] MainController.java
package com.julian5383.controller;

import java.util.HashMap;
import java.util.List;
import java.util.Map;

import org.slf4j.Logger;
import org.slf4j.LoggerFactory;
import org.springframework.beans.factory.annotation.Autowired;
import org.springframework.stereotype.Controller;
import org.springframework.ui.Model;
import org.springframework.web.bind.annotation.GetMapping;
import org.springframework.web.bind.annotation.PostMapping;
import org.springframework.web.bind.annotation.RequestMapping;
import org.springframework.web.bind.annotation.ResponseBody;
import org.springframework.web.servlet.ModelAndView;
import org.springframework.web.servlet.mvc.support.RedirectAttributes;

import com.julian5383.model.OnboardDto;
import com.julian5383.service.BoardService;

@Controller("boardController")
@RequestMapping("/board")
public class MainController implements BoardController{

	@Autowired
	BoardService boardService;
	@Autowired
	OnboardDto onboardDto;

	List<OnboardDto> articleList;

	Logger logger = LoggerFactory.getLogger("com.julian5383.controller.MainController");

	@Override
	@RequestMapping({"/list", "/"})
	public String getArticleList(Model model) throws Exception {
		// TODO Auto-generated method stub
		articleList = boardService.listArticles();
		model.addAttribute("data_list",articleList);
		return "list";
	}

	@Override
	@RequestMapping("/add")
	public String writeArticle() throws Exception {
		// TODO Auto-generated method stub
		return "write";
	}

	@Override
	@PostMapping("/addArticle")
	public String addArticle(String title, String content) throws Exception {
		// TODO Auto-generated method stub
		onboardDto.setTitle(title);
		onboardDto.setContent(content);
		onboardDto.setWrite_id("bit");
		boardService.addArticle(onboardDto);

		return "redirect:list";
	}

	@Override
	@GetMapping("/view")
	public ModelAndView viewArticle(String articleNo) throws Exception {
		// TODO Auto-generated method stub
		onboardDto = boardService.viewArticle(Integer.parseInt(articleNo));
		ModelAndView mv = new ModelAndView();
		mv.setViewName("view");
		mv.addObject("article", onboardDto);
		logger.trace("trace==>articleNo: "+articleNo);
		logger.debug("debug==>articleNo: "+articleNo);
		logger.info("info==>articleNo: "+articleNo);
		logger.warn("warn==>articleNo: "+articleNo);
		logger.error("error==>articleNo: "+articleNo);
		return mv;
	}

	@Override
	@PostMapping("/edit")
	public String editArticle(String articleNo, String title, String content, RedirectAttributes redirectAttr)
			throws Exception {
		// TODO Auto-generated method stub
		onboardDto.setArticle_no(Integer.parseInt(articleNo));
		onboardDto.setTitle(title);
		onboardDto.setContent(content);
		boardService.editArticle(onboardDto);
		redirectAttr.addAttribute("no", articleNo);
		return "redirect:view";
	}

	@Override
	@PostMapping("/remove")
	public String removeArticle(String articleNo) throws Exception {
		// TODO Auto-generated method stub
		boardService.removeArticle(Integer.parseInt(articleNo));
		return "redirect:list";
	}
	//인터페이스에 html에서 끌어와야할 name태그르 딸 기록,메소드 처리 내용만 기록, 브라우저 상에 name태그를 따로 쓸 필요 없음.

	//사진 띄우기 메소드
	@Override
	@GetMapping("/show")
	public String viewImage() throws Exception {
		// TODO Auto-generated method stub
		return "show";
	}

	@Override
	@PostMapping("change")
	@ResponseBody
	public Map<String, String> changeImage() throws Exception {
		// TODO Auto-generated method stub
		Map<String, String> map= new HashMap<String, String>();
		map.put("file", "/image/cat.jpg");
		map.put("name","cat");
		logger.info("=====> "+map.get("file"));
		return map;
	}
}
- changeImage 메소드를 선언한다.
- @PostMapping("change"): change 경로로 POST 요청이 들어오면 changeImage 메소드를 실행한다.
- @ResponseBody: RESTful API 개발에 이용되며 해당 어노테이션이 메소드에 지정되면 문자열을 그대로 본문에 전송한다.
- 메소드는 HashMap<String, String> 객체를 생성하고, "file" 키에는 "/image/cat.jpg" 값을, "name" 키에는 "cat" 값을 저장합니다. 이후, 로그에 "=====> /image/cat.jpg"를 출력하고, 최종적으로 맵을 반환한다.
[3] show.html
<!DOCTYPE html>
<html lang="ko" xmlns:th="http://www.thymeleaf.org">
<head>
<meta charset="UTF-8">
<meta name="viewport" content="width=device-width, initial-scale=1.0">
<title>show image</title>
<script th:inline="javascript">
async function changeImg(frm){
let formData = new FormData(frm);
const options = {
method:"post",
body: formData
}
try {
let response = await fetch(/*[[@{/board/change}]]*/ '',options);
let result = await response.json();
let img = document.querySelector('#img_tag');
img.src = result.file;
let input_tag=document.querySelector('#pic_name');
input_tag.value = result.name;
} catch (error) {
alert(error);
}
}
</script>
</head>
<body>
<form id="img_form">
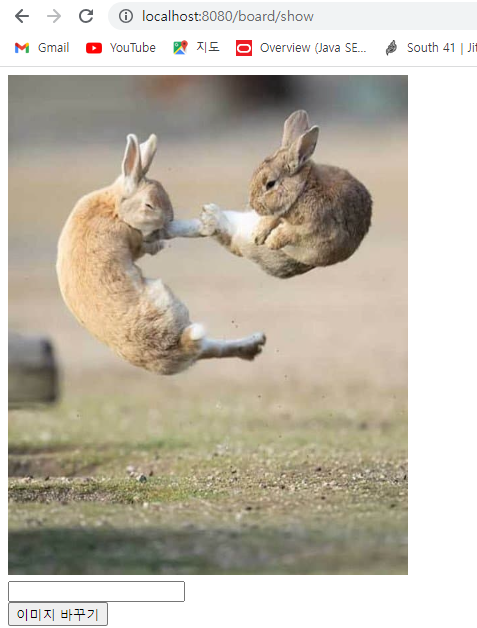
<img id="img_tag" th:src="@{/image/rabbit.jpg}" width="400" height="500"><br>
<input id="pic_name" type="text"><br>
<input type="button" value="이미지 바꾸기" onclick="changeImg(img_form)">
</form>
</body>
</html>
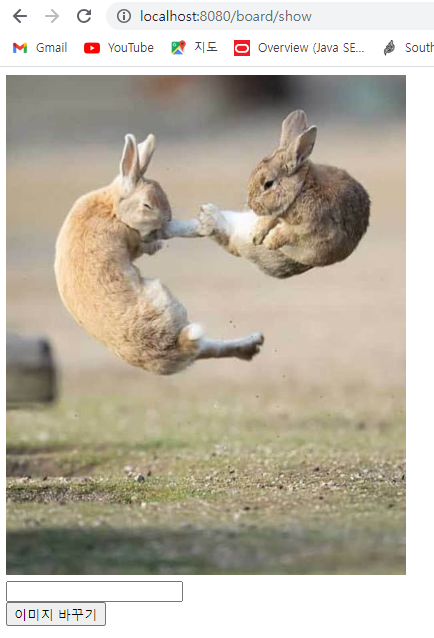
<!--static 밑에 위치-->- 이미지를 변경하는 HTML 페이지이다.
- 먼저 th:src="@{/image/rabbit.jpg}" 태그를 통해 해당 html을 실행시 먼저 토끼사진을 띄운다.
- <input> 태그: id="pic_name"으로 지정되어 있으며, 이미지 이름을 입력하는 역할을 한다.
- changeImg() 함수: 이미지를 변경하기 위한 JavaScript 함수이다.
1) async 키워드를 사용하여 비동기 함수로 정의되어 있다. 원하는 때에 동작을 시작할 수 있다.
2) FormData 객체를 사용하여 <form> 요소의 데이터를 수집하고, fetch() 함수를 사용하여 서버로 데이터를 전송한다.
3) response.json(): 서버로부터 받은 응답을 JSON 형식으로 해석하고 출력한다.
- ajax를 이용할 수 있지만 오래된 코드여서 쓰지 않았다.
- 모던 자바스크립트, 해당 사이트를 참고했다.
https://ko.javascript.info/async
프라미스와 async, await
ko.javascript.info
--> 결과

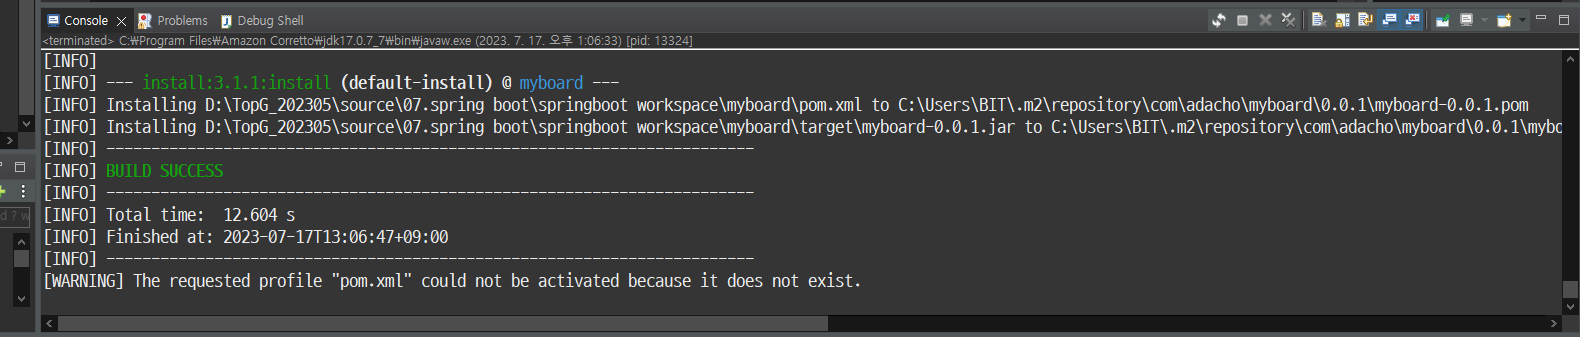
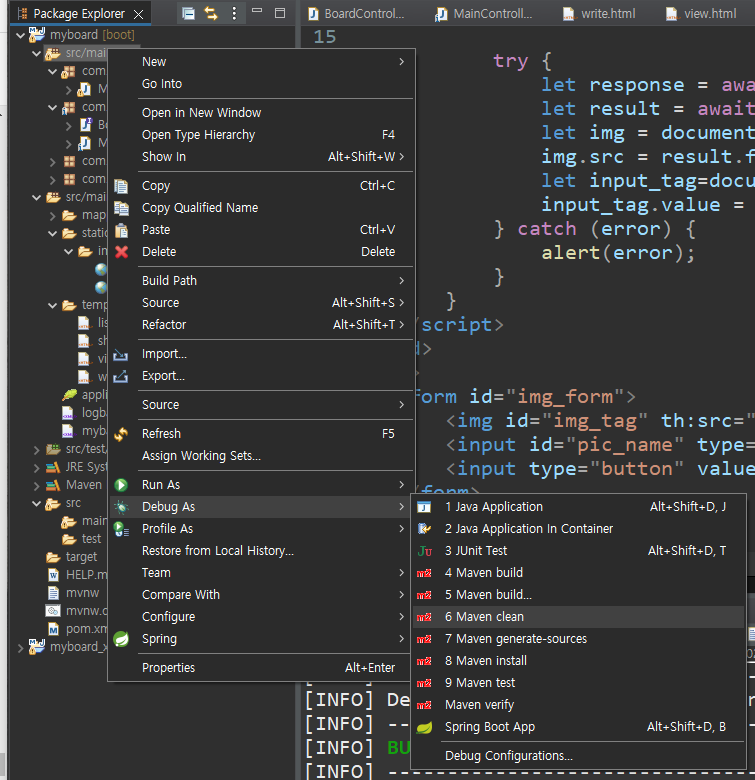
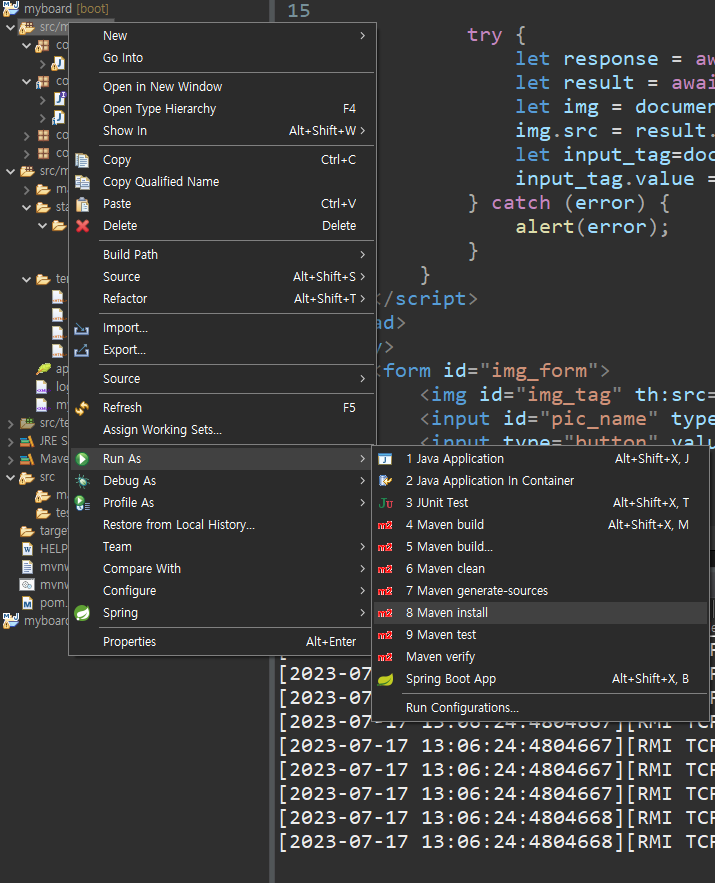
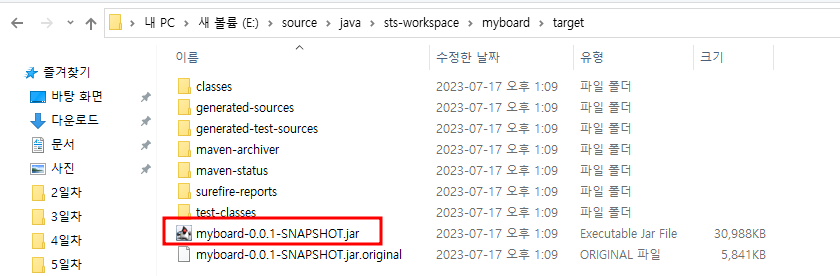
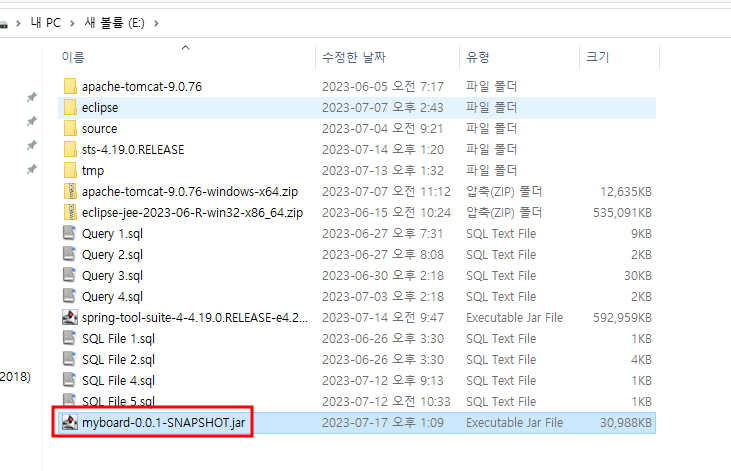
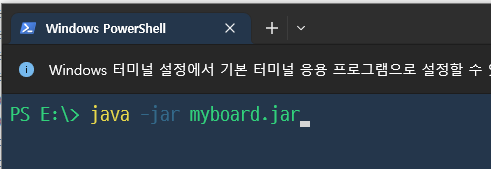
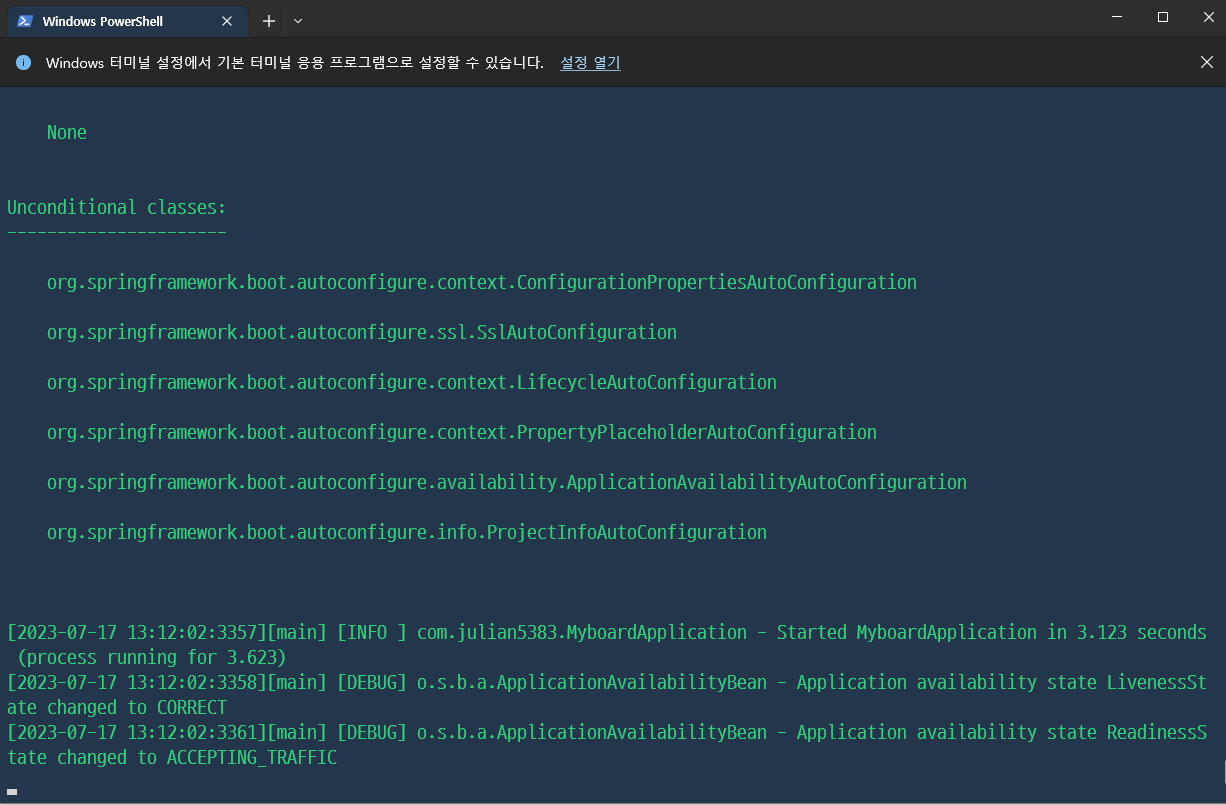
3. jar 파일 배포
- 스프링부트는 톰캣을 내장해서 지난때 war 파일을 선언할 필요 없다.
- jar 파일 배포가 권장사항
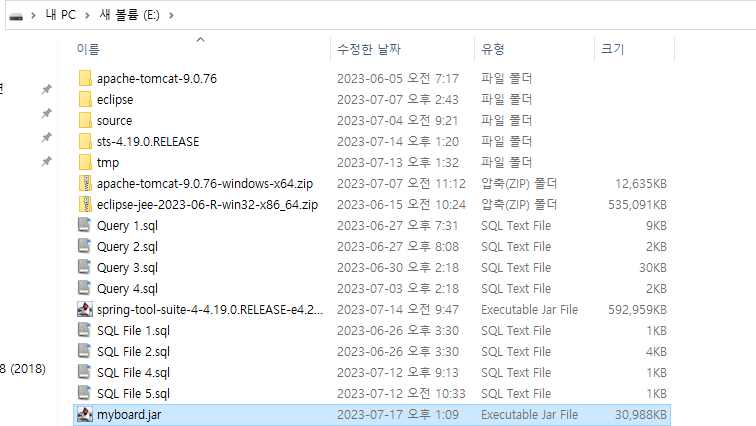
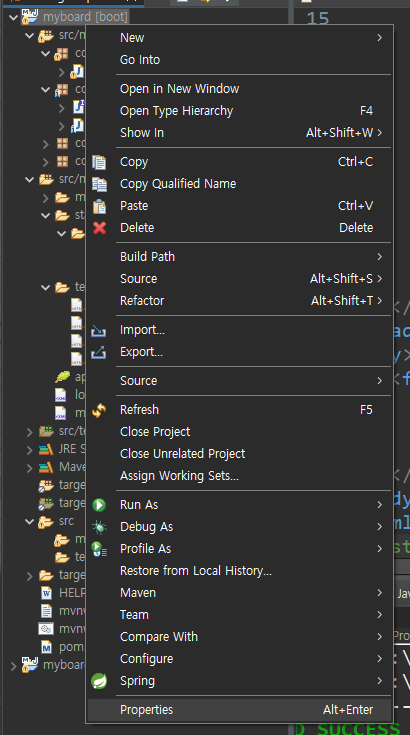
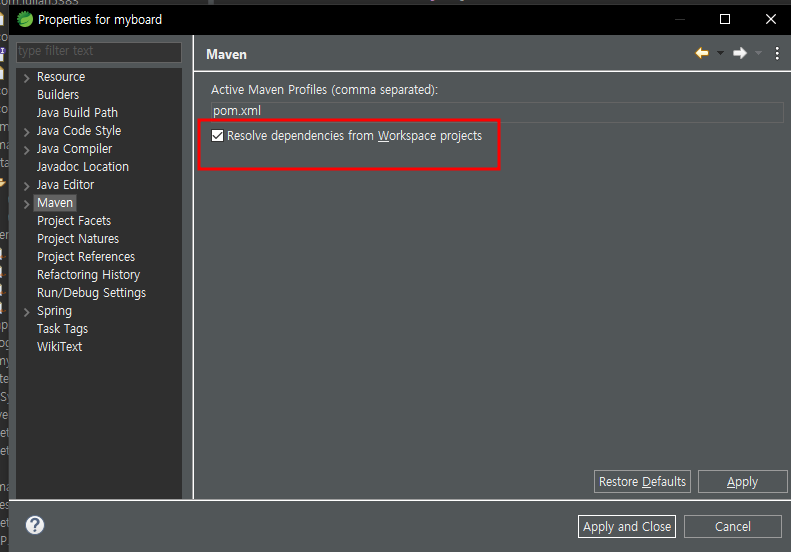
- warning이 뜰때 신경쓰인다면